If you’re interested in mixing audio like a pro, you can! You’ll just need a few pieces of equipment and some time to learn the ropes.
To mix audio like a pro, invest in a computer with high processing capacity (like a Macbook) and a digital audio workstation (like Pro Tools) to organize your tracks before mixing and mastering them. In the mastering process, you can try tools like compression, panning, and reverb.
Read on to learn more about audio mixing and how you can do it at home. This article will tell you everything you need to know about how to mix audio like a pro.
Learn the Fundamentals of Audio Mixing
Audio mixing refers to the process of blending different audio tracks together to make one arrangement. Mixing can bring together different instruments or voices in unique ways, adjusting the levels of different sounds after a recording has already been made.
Mixing allows you to add in sound effects like delays, reverbs, or repeating sounds.
A track of audio is known as a stem, and a track with multiple stems is called a multitrack. This multitrack can also be called a mixdown, which is a name for a track that hasn’t been through the mastering stage just yet.
Mastering refers to the process of putting final touches on a multitrack, correcting any balance issues, and enhancing the fullness and clarity of the music.
You can do this through the processes of equalization, compression, reverb, panning, and bussing.
Equalization
Equalization, also called EQ, is the balancing of different frequencies and tones in an audio track. The range of frequencies audible with the human ear is huge, spanning from 20 Hz to 20,000 Hz.
Different elements in a mix will occupy different parts of that range, and you need to make sure that you’re not drowning out any sound at any point in time.
Frequencies are split into three main categories: bass, midrange, and high end. Bass refers to sounds at lower frequencies, high end refers to high frequencies, and midrange refers to those somewhere in the middle.
Also Read: How To Use an Equalizer To Get That Perfect Sound
Timbres
In addition to different frequencies, different sounds have different timbres, or tones. If you can imagine a stringed instrument and a flute playing the same note, you’ll recognize the difference between the two despite them being played at the same frequency.
These differences are due to the timbre of each instrument.
Timbre is associated with any sound that varies from the single sine wave in form. These sounds are called complex and are made from various partials or sine wave components of the larger sound.
If these partials are related to the main sound by a whole number ratio, they’re considered harmonic; otherwise, they’re inharmonic.
To see the difference for yourself, first observe this harmonic cello:
Then, compare this inharmonic cymbal crash:
When you’re mixing, you can use equalization to determine whether you want to draw out the harmonic partials or the inharmonic partials.
Equalization & Filtering the Music
You can think of equalization as a process of filtering the music. Equalization won’t add any new frequencies, but you can clip, suppress, or highlight different frequencies.
There are four basic types of filtering that you can try as a part of equalization:
- Filtering by type allows you to cut the extreme ends of the audio files, with a high pass filter cutting off the low bass and a low pass filter cutting off the high treble. You can also cut by type at any point in the middle of a range of frequencies.
- Filtering by slope allows you to change the aggressiveness of a shift between high and low. You can give the waveform bell-like curves instead of jagged ones, which makes the audio sound smoother.
- Filtering by Q means filtering by the quality factor, which refers to the broadness of the equalization curves. Values less than one mean broader curves, where values greater than one mean tighter cuts and more precise boosts.
- Filtering by gain refers to the amount of boost or cut you use, measured in decibels. See the following video for more on how to use gain without distorting your audio:
Read more: How To Optimize Your Equalizer Settings for the Best Sound
Compression
Compression refers to the process of reducing the difference between the loudest and softest parts of a track, also known as the dynamic range. Compressors work by softening the loudest parts of the song and then boosting the rest.
Transients
Transients are an important concept in compression. Transients refer to the sudden jump that happens when a song moves from soft to loud, and they require some amount of body to be pleasing to the ear.
Songs should have some transients to avoid being boring, but not so many that they become jarring.
Threshold
The threshold is another important concept in compression, and it refers to the audio level at which the compressor will start compressing, measured in decibels.
A high threshold will affect only the most extreme moments in the song, whereas a low threshold will compress much more of the audio.
The amount a signal is boosted or softened when it’s above the threshold is called ratio, named because it’s expressed relative to the unaffected signal. Ratio settings between 1.5:1 and 10:1 are most common.
Generally, you should start with a low ratio and then increase it until the point just before the effect becomes obvious.
Attack & Release
You’ll also want to take into account your attack and release. Your attack refers to the point where a cut or boost starts. On the other hand, the release refers to the point where it stops.
These can be set to fast or slow settings, depending on what you need in order to keep up with the movement of the sound.
A compressor comes with a VU meter that tracks signal levels, monitored to determine the correct attack and release times. The needle on the VU meter should move in time with the music if your times are set up correctly.
Reverb
Reverb, or reverberation, refers to the echoing effect when sound waves bounce off various surfaces after the original sound is heard.
Reverb is useful in mixing because it provides a sense of spatial reality.
When an audience hears reverb, they picture themselves inside the room where the audio is being recorded, as if they were sitting in a concert hall.
This effect also makes the audio sound warmer and fuller. In fact, when you hear a song using reverb, you’re most likely to notice the warmth and fullness and the way you feel surrounded by the music. You’re less likely to recognize it as an echo.
When a song has a reverb effect to it, it’s called “wet,” and when it doesn’t, it’s referred to as “dry.” Oftentimes, a song will have a mix of some wet and some dry components.
Types of Reverb
There are nine distinct kinds of reverb listed below.
- Hall reverb has the feeling of a large space, used for classical music as well as pop.
- Chamber reverb mimics a small echo chamber.
- Room reverb mimics a large room, gives clarity, and is good for solo performances.
- Live or stage reverb simulates a performance stage, commonly used for classic rock and pop recordings.
- Church or cathedral reverb mimics a space with high ceilings and stone walls, a good choice for choirs or string ensembles.
- Spring reverb simulates the effect of the spring-loaded reverb device found in guitar amplifiers. This has a signature metallic “boingy” sound, used commonly in blues, jazz, rock, and metal.
- Plate reverb mimics the sound of an analog plate reverb device, working well for percussion, vocals, brass, and reeds.
- Gated reverb has a punchy echo to it, and it’s made by cutting off the decay of the echo. This sound was especially popular in the 80s rock and pop scenes.
- Convolution reverb is created by your actual recordings, used to capture the acoustics of a given space so that they can be applied to other tracks.
Reverb Parameters
A reverb unit has seven parameters: type, size, decay, pre-delay, early reflections, diffusion, and mix.
- Type refers to the kind of reverb, like Spring Reverb.
- Size refers to the simulated room size of the reverb effect, and decay relates to the amount of time it takes the echoes to stop.
- Pre-delay is the amount of time between the original sound source and its first echoes.
- Early reflections, also called pre-echoes or initial reflections, determine the signal level of the first echoes that you’ll hear on a track.
- Diffusion refers to the complexity of the simulated room, meaning how much the sound is bouncing around between objects.
- Mix relates to how much your wet signals and dry signals mesh together.
Panning
Panning refers to the way you can separate sounds based on spatial position. When you pan a mix, you move tracks to the left, center, or right of the stereo field to create the feeling that the sounds are coming from different directions. This spatial plane where you organize music is known as a soundstage.
Some audio mixing software will allow you to see a visual interpretation of the soundstage and arrange tracks accordingly.
Once arranged, you’ll notice some sounds blending and others popping according to where they are and what they’re next to.
Remember that this is an art form, and panning is a powerful tool. In Elliott Smith’s song “A Distorted Reality Is Now a Necessity To Be Free,” the drums are heard in only one headphone to portray a sense of sadness. Then as the song progresses, more drums begin playing a counter rhythm in the other ear.
This leads to a collision of sounds, which continue until finally, they resolve into a state of balance again. The fact that the song isn’t perfectly balanced the entire time is the reason why it’s so emotionally effective. Panning allows you to be emotionally effective by altering the state of balance throughout the song.
Buses
A bus is a group of sounds brought together onto one track, like a group of drummers or a set of tenors.
You create a bus so that you can apply uniform effects on all of the sounds in the bus, accessing them as one unit.
This is known as bussing your sounds, and it makes the mixing process more efficient.
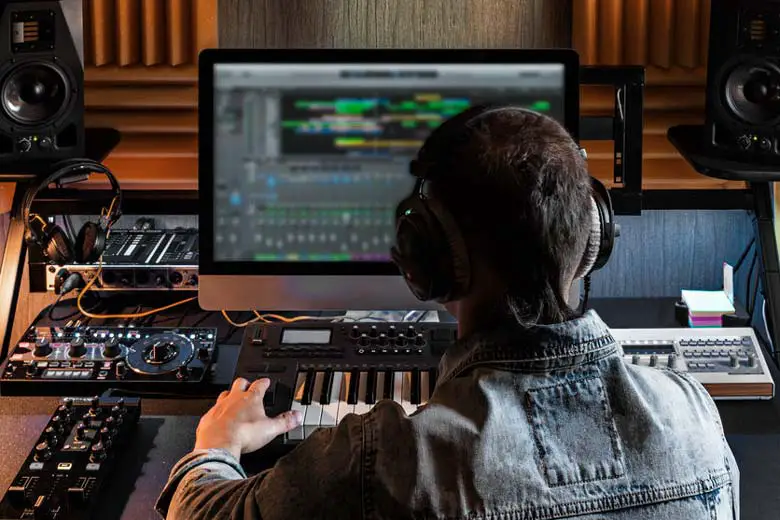
Set Up Your Audio Mixing Studio
To get started, the first thing you’ll need is a computer with a digital audio workstation (DAW) installed, like the Avid Pro Tools, an option that works for Mac or PC.
Because this software takes up a lot of space and processing power, your computer must be able to handle that sizable workload.
A Macbook Pro or similar would have enough processing capacity to handle it.
DAWs
Your DAW will have all the tools you need to mix and master your sounds. Make sure that you get to know your DAW well to make the most of it.
It might be tempting to try out different kinds of software before committing to one, but know that the more time you spend using one kind of software, the better you’ll be at mixing overall.
Most DAWs allow you to choose from a set of templates, which prompts you to include tracks for several different kinds of instruments. You can also make your own templates to reuse in the development of your own style.
Organizing Your Files
Make sure that your studio is organized, from the physical space you’re working into the way your files are named and color-coded.
Give your files simple, descriptive names and colors for differentiation, and you’ll be able to mix more tracks with fewer headaches.
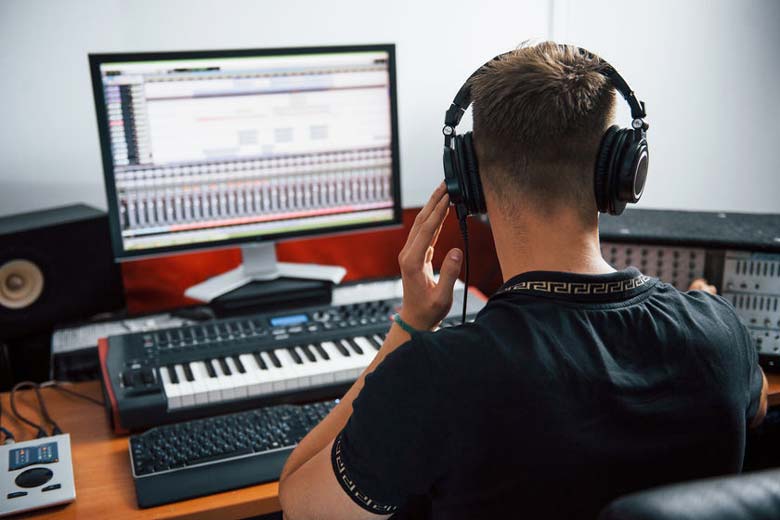
Headphones
You’ll also want to have high-quality headphones if you’re going to be spending any amount of time mixing music. You’d hate to try recording the perfect sound and be stuck hearing the sound through a suboptimal device.
A good pair of headphones or a nice set of speakers is essential when mixing audio.
There are a lot of headphones on the market, ranging from very cheap to outrageously expensive. There are also a lot of different kinds of headphones, and all of them are certainly not suitable for mixing audio like a pro.
Here are some headphones we recommend:
Sennheiser HD 660S

An upgrade of one of Sennheiser’s most popular headphones of all time. This is just as great for listening to audiophile quality music as it is for mixing audio in the studio.
- Open-back headphones
- 150 ohm impedance
- Frequency response: 10 to 41,000 Hz
- Very high quality
Beyerdynamic DT 990 PRO

Perfect for beginners who want a very popular pair of high-quality headphones that’s great for mixing audio. Great sound for a relatively low price makes these the absolutely with it.
- Open-back headphones
- Versions with 80 ohm and 250 ohm
- Robust design
- Very comfortable
Audio-Technica ATH-M50X

The extremely popular Audio-Technica ATH-M50X is a great pair of headphones for the money. They’re not the typical mixing headphones but they are a great option for beginners who also want to use them for everyday music listening.
- Closed-back headphones
- 38 ohm impedance
- 90 degree swiveling earcups
- Collapsible
- Frequency response: 15-28,000 Hz
- Can be easily driven by a phone
Beyerdynamic DT 1990 PRO

Professional studio reference headphones for mixing and mastering. If you want some of the best headphones for mixing, without paying too much, these are a great option. The quality is exceptional!
- Open-back headphones
- 250 ohm impedance
- Dynamic Tesla neodymium driver
- frequency response : 5-40,000 Hz
- Replaceble ear pads
- Balanced sound image
Choose High-Resolution Sound
Although there’s a lot of power in the mastering process, no amount of mixing can make up for low-quality original audio input. Make sure that you have high-quality recordings to work with if you want the best final result.
High-resolution music has a sampling frequency of at least 192kHz and at least a 24-bit depth. It’s stored uncompressed in what’s called a lossless file.
A lossy file, by contrast, loses data through a process of compression. Lossless files often have the FLAC or WAV file type and are known for being larger but more accurate depictions of a recording.
Lossy files are compressed to the point that the quality is lacking and yet are still much more popular than lossless files. This is likely because they’re so much smaller and easier to store in high quantities.
Read more: 320 KBPS vs. Lossless Audio: The Differences Explained
Make sure that you choose lossless sound files with complexity and character so that you have something to work with when you’re mixing. You should also know your end goal at the recording stage to know how the different tracks will fit together.
Common Mistakes To Avoid While Mixing Audio
When you’re mixing audio for the first time, it’s all too easy to make these common mistakes and lose the potential of the sound you’re working with. Consider the following if you want to make the most of your sound recordings.
Masking Sounds at the Same Frequency
A common mistake made by audio mixers is creating a masking effect, where two instruments or voices are played at the same volume and frequency and don’t have distinct enough timbres to be told apart.
If you notice that one sound is masking another in your music, go back to the equalization process so that you can differentiate the two sounds in amplitude.
Attacking Too Fast in Compression
Setting the attack time too fast results in transients that are cut off or lost altogether, reducing the impact of major moments in the track.
Beginners often set the attack too fast when they’re working with drums and other percussions, but unless you’re working with a drum solo, chances are their sound will be lost in the final recording unless your attack times are slowed down.
Attacking too fast can also distort low frequencies. This is because the fast attacks you may need for certain higher-pitched transients may be so fast that they clip the long waveforms of the low-frequency notes.
This can be avoided with the use of a high-pass filter on the compressor’s detector, forcing it to ignore low-frequency sounds as it applies boosts and cuts.
You can also use the lookahead function in some compressor plugins to set the compressor to respond to your attack and release commands a few milliseconds before a transient, which gives the lower frequency wavelengths time to pass through without being distorted.
Assuming Every Equalizer, Compressor, etc. Is the Same
If you assume every piece of your equipment is the same as the next, you’re unlikely to be investing in the right equipment for you, and you’re probably not using what you have most optimally.
Take the time to get to know your equipment so that you’re able to make the most of it.
Recording Your Original Track With Reverb
You should record your tracks with as little reverb as possible, then add it later during the mastering process. This gives you more flexibility because it’s much easier to add reverb later than remove it from an original recording.
And, too much reverb can destroy the contrast between low frequencies, creating a muddy mix.
Tips for Mixing a Podcast
NPR recently published an article explaining the nitty-gritty of mixing a podcast, available here. In this article, they explain in great detail what steps to take when you’re mixing, including every part of the mastering process.
Here, we’ll look at some takeaways for audio mixing when you’re putting together a podcast.

First, arrange your tracks in this order:
- Host audio
- Guest audio
- Ambience
- Music
- Master track
This is the formula used by NPR, and they recommend it for anyone who wants to be a part of collaborative radio.
You should organize these tracks so that each one covers a particular scene. Then, cascade them visually so that you can see the progression of scenes from left to right.
As you do this with all your tracks, you’ll be able to see them line up vertically, as well. That way, you can visualize everything that’s happening at each moment.
Then, once your tracks are organized, start to analyze your audio to determine which effects you’ll need. If the ambient sound is overpowering a person’s speaking voice, for example, you can use compression as a way of emphasizing that voice and creating balance.
Audio clips in a podcast should fade in and out every time they appear. Check to make sure that each clip has a fade in the top and the tip of the recording. Clips should also be balanced so that the volume of outgoing sounds and the following incoming sounds are the same.
Related article: All the Equipment You’ll Ever Need for a Podcast
Where Can I Learn To Mix Audio Professionally?
If you’re looking to learn more about mixing audio, there are several options available to you. If you also are interested in making dance music, a good first step might be Armin van Buuren’s MasterClass. This class teaches you how to make great dance music, including how to think when mixing and mastering a track.
Here is a short trailer for that Masterclass:
Masterclass offers a 30-day guarantee, which means that you can get your money back within 30 days if not satisfied.
Check it out here, if interested!
Some universities also offer programs teaching professional sound production, such as the Academy of Art University in San Francisco, California. They have a School Music Production & Sound Design for Visual Media, with courses in sound design and music production. It’s directed by Bradley Hughes, a sound designer and music producer who has worked for Dreamworks.
There is also a Music Production Online Degree Program offered by the Rocky Mountain College of Art and Design. This BFA Program teaches the technical elements of the music industry while providing room for creativity and experiencing the music culture. The areas covered include sound design, audio engineering, and music theory and composition.
Full Sail University offers many Music and Entertainment Degrees, including several related to audio production. These courses also have a business component to them so that students emerge able to take on a multifaceted role in the music industry.
What Do Professional Audio Mixers Do?
Many professions are involved when mixing audio, including sound design, audio engineering, and musical production. Each field requires a different blend of creative energy and technical expertise.
Sound designers must have a solid understanding of acoustics and sound recording and be adept at analog and digital mixing techniques. They’ll often need to record their own sounds and have the talent to envision any sound necessary for screen production.
They work closely with the director, as well as the production mixer and the sound supervisor.
Audio engineers operate the recording equipment, collaborating with producers and performers to capture their vision. They set up microphones, minimize unwanted sounds and regulate the quality of the sound coming through. Audio engineers work in the production of live shows and in many recorded formats: movies, music, video games.
Music producers piece together the elements that will go into a sound recording, often on behalf of an artist. They’ll decide what accompanying instrumentals to include and figure out the best recording process to use for the budget available.
Music producers also play a big role as coordinators of live music events, pulling together the performers with the technical staff.
In each of these roles, the professional audio mixer must understand how sound is recorded and what it takes to create a full and balanced soundstage.
Conclusion
Mixing audio like a pro just requires a computer with audio mixing software, some good headphones, and the time to experiment with different effects, like reverberation, compression, and panning.
You can also take online or in-person courses in audio production if you’re serious about professional audio mixing or sound design.