Your A/V or home theater receiver is the key to getting a surround sound experience. Understandably, it can be pretty frustrating when you’re ready to crank everything up yet the sound remains low. What could be the reason for this?
A low receiver is caused by low volume settings, surround sound mode settings, or a poor connection between the receiver and speaker. A receiver could also be low due to faulty wires or other components, or the receiver may be blown altogether.
Although you will need to explore the various reasons why your receiver sounds low, there’s a fix for every one of them. All you need to do is read the troubleshooting guide that I have prepared for you below.
6 Reasons Why Your Receiver Is Low
Here are the 6 most common reasons why a receiver is low. This troubleshooting guide should help you determine the problem and get your volume back to normal.
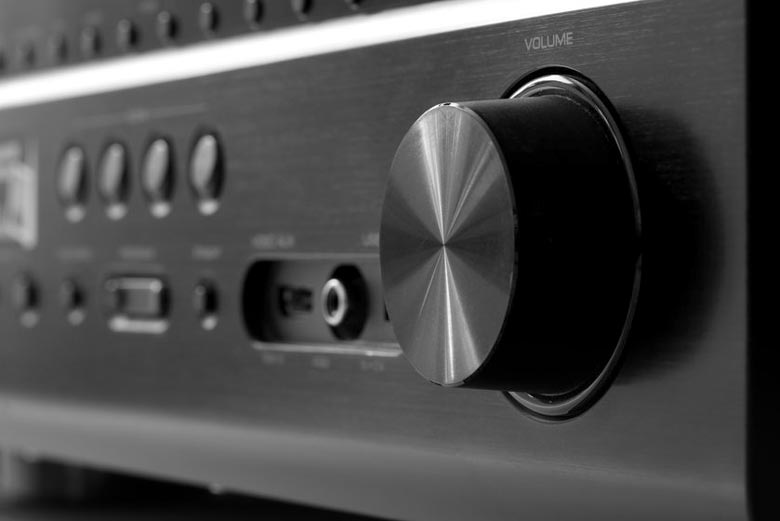
Low Volume Setting
If your receiver is emitting low sounds, you should check if the volume is turned down.
Likewise, you should see that the speaker, TV, or any output device’s volume is turned up.
Although you might not have done this yourself, some people in your house might’ve!
Poor Connection Between the Receiver and the Speaker
Your speakers may be connected by jacks, banana plugs, or bare wire attached by screws or speaker clips. If those connections are not secure at both ends, you may get low sound or no sound at all. Loose connections are a common problem with home audio systems.
Another Component Connected to the Receiver
Even if the connection is secure, the receiver will emit a low sound if it’s hooked to another input source.
Maybe it’s hooked to your headphones or the TV – that’s why you hear barely audible sounds.
Non-Surround Sound Mode
If your receiver is peculiarly low, then it might be set on another mode. You will have to change this if you want a sound surround experience.
When you run a 5.1 soundtrack in the stereo setting, the signal for the center channel is split equally between your left and right speakers. If one of your speakers is out of phase with the other (the positive terminal attached to the negative), the signals will cancel each other out and you will have difficulty hearing the dialogue.
Faulty Wires, Speakers, Including the Receiver
Your wires or your speakers might be nearing their lifespan. As such, they might not be as performing as well as they did before.
When it comes to wires, it’s a must to inspect them for any damages visually.
You can also use a multimeter to check for wire continuity. If you don’t know how to use this, then make sure to check the following tips on how to use a multimeter.
It’s also crucial to listen for a buzzing or whining sound. Any of these allude to grounded wires.
As for the speakers, you can check them by connecting your receiver to a different set. This is particularly easy, as you’ll see in the topic “How do I connect speakers to my A/V receiver?”
Suffice to say, if the new speakers are working, you will need to replace your old ones.
If both speakers are functioning well, then you should consider getting a new receiver.
The Receiver Is Blown
When checking if your receiver is blown, look at the LCD panel. Yamaha receivers, as an example, will display the word ‘Protection’ if there’s a problem. As for other brands, you should read the manual for the corresponding error code.
You can also check the receiver by removing the back of the unit. This allows you to check for signs of a blown fuse – as well as other damaged components.
How To Make the A/V Receiver Sound Better
Depending on the cause of the problem, you can make your A/V receiver sound better with the following solutions:
- Turn the volume up
- Connect the speaker and receiver properly
- Change the sound mode
- Replace the wires
- Fix the receiver’s broken components
Turn the Volume Up
If your volume controls are way down low, then you need to jack them up.
This hack does not only apply to the receiver. It will help if you increase the volume of the speaker and other output devices as well. Doing so should make your receiver sound better in no time.
Connect the Speaker and the Receiver Properly
If the cable jacks are loosely connected, then push them in all the way.
Plug both ends when you see that they’re not connected at all.
More so, if another device is connected to your receiver, disconnect it and plug in the speaker jack instead.
Make sure you have the positive and negative plugs in the right place. Typically the positive jack is red and the negative jack is black. Reversing them can put the music in one channel out of phase and results in decreased volume.
Change the Sound Mode
Depending on your receiver, your speaker setup and your source material, you may have a choice between several different surround sound options. The best choice often depends on the show you’re watching, as well as your audio system’s setup and capabilities.
If your source has a stereo soundtrack, choose Dolby PLII for a surround-like effect. For other movies, Dolby Digital Surround is a good option. If your receiver and source let you choose between Dolby Digital Surround and DTS, pick the latter as its higher bit rate produces a better sound.
Replace the Wires
If your wires are damaged, buy new wires to replace them. Please don’t attempt to wrap them in electrical tape! In the long run, these faulty wires can end up causing more damage.
If it’s your first time connecting wires to your A/V receiver, here are the steps on how to do it:
- Turn off your A/V receiver.
- Connect the speaker wires to the terminals. In most receivers, this is located at the backside.
- If your receiver has a spring terminal, press down the black or red clips before inserting the wires. Release the clips right after.
- If you have a binding post terminal, turn the black or red knobs counter-clockwise to loosen them. Insert the speaker wires. Turn the knobs clockwise to tighten them.
- Connect the other end to the speakers.
- Test for the sound.
Fix the Receiver’s Broken Components
If your receiver has a blown fuse, then you’ll need to replace it.
- For a glass fuse: Avoid using pliers as they can shatter it. Instead, build leverage by using a popsicle stick.
- For a hard-to-reach fuse: Thread a string under it. Pull both ends of the line, and this should pop the fuse out.
When you replace a fuse, make sure to install one with the same voltage and amperage.
Should your receiver continue to emit low sounds – or turn itself off – then it’s an ominous sign. It’s time for you to take it to a professional handyperson.
Final Words
A low-sounding receiver can be caused by a wrong volume setting and loose/disrupted connections. It could also result from another device being connected to the receiver.
A ‘different’ sound mode and faulty wires & devices may lead to inaudible sounds as well.
Troubleshooting these problems is all about addressing the issues. That means increasing the volume and making sure that the receiver is connected correctly.
Changing the sound mode, replacing the faulty wires, and fixing the receiver’s components should also work.